Set up and display sensor data
On the Welcome Screen, use the Sensor Data path to quickly set up your experiment.
From Sensor Data, you can connect sensors and select measurements to display in common layouts.
You can connect a PASCO Wireless, PASPORT, or Science Workshop sensor to SPARKvue. The steps required are different for each type of sensor, so navigate to the instructions for your sensor using the Table of contents on the right.
Note
The PWA version of SPARKvue features a slightly different method of connecting sensors. If you are using the PWA version of the program, go here for information on this method.
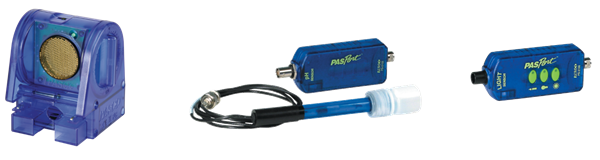
Wireless Sensors
-
Open SPARKvue.
Tip
If you already have SPARKvue open on the Experiment Screen, click
 and select Start New Experiment to return to the Welcome Screen.
 -
Click Sensor Data.

-
Connect a sensor using Bluetooth or USB.
-
Turn on the sensor by pressing the power button until the lights turn on.
-
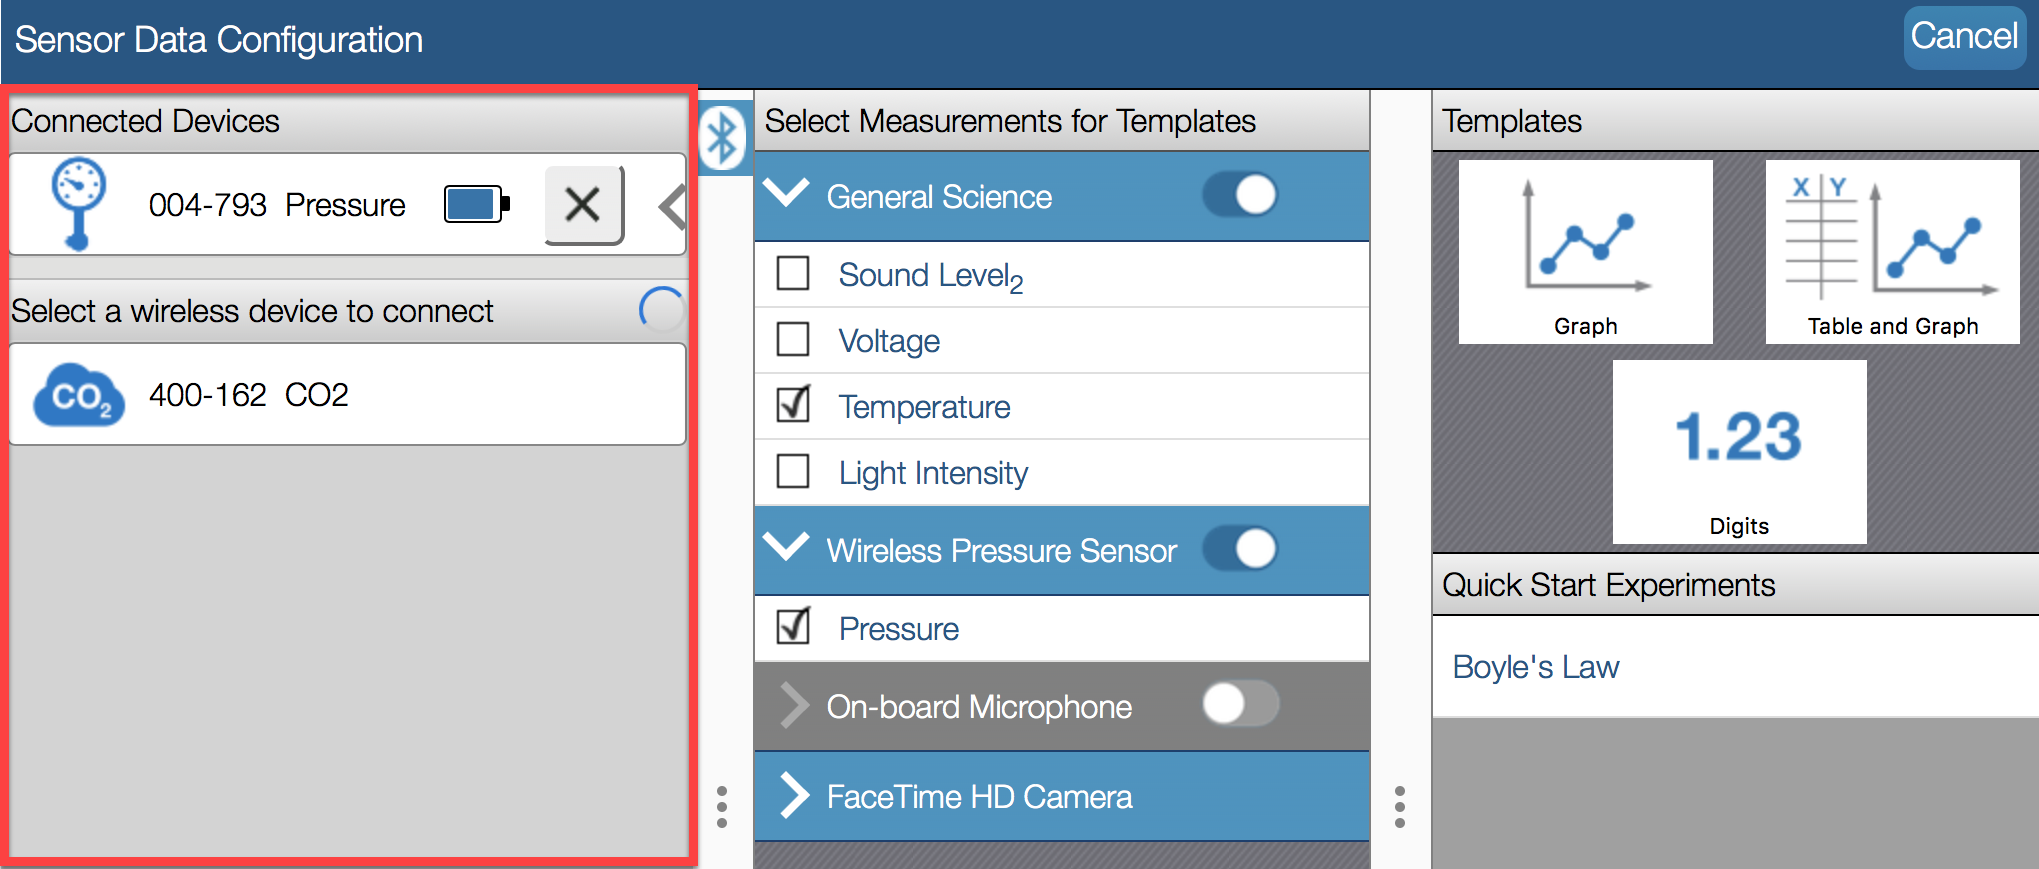
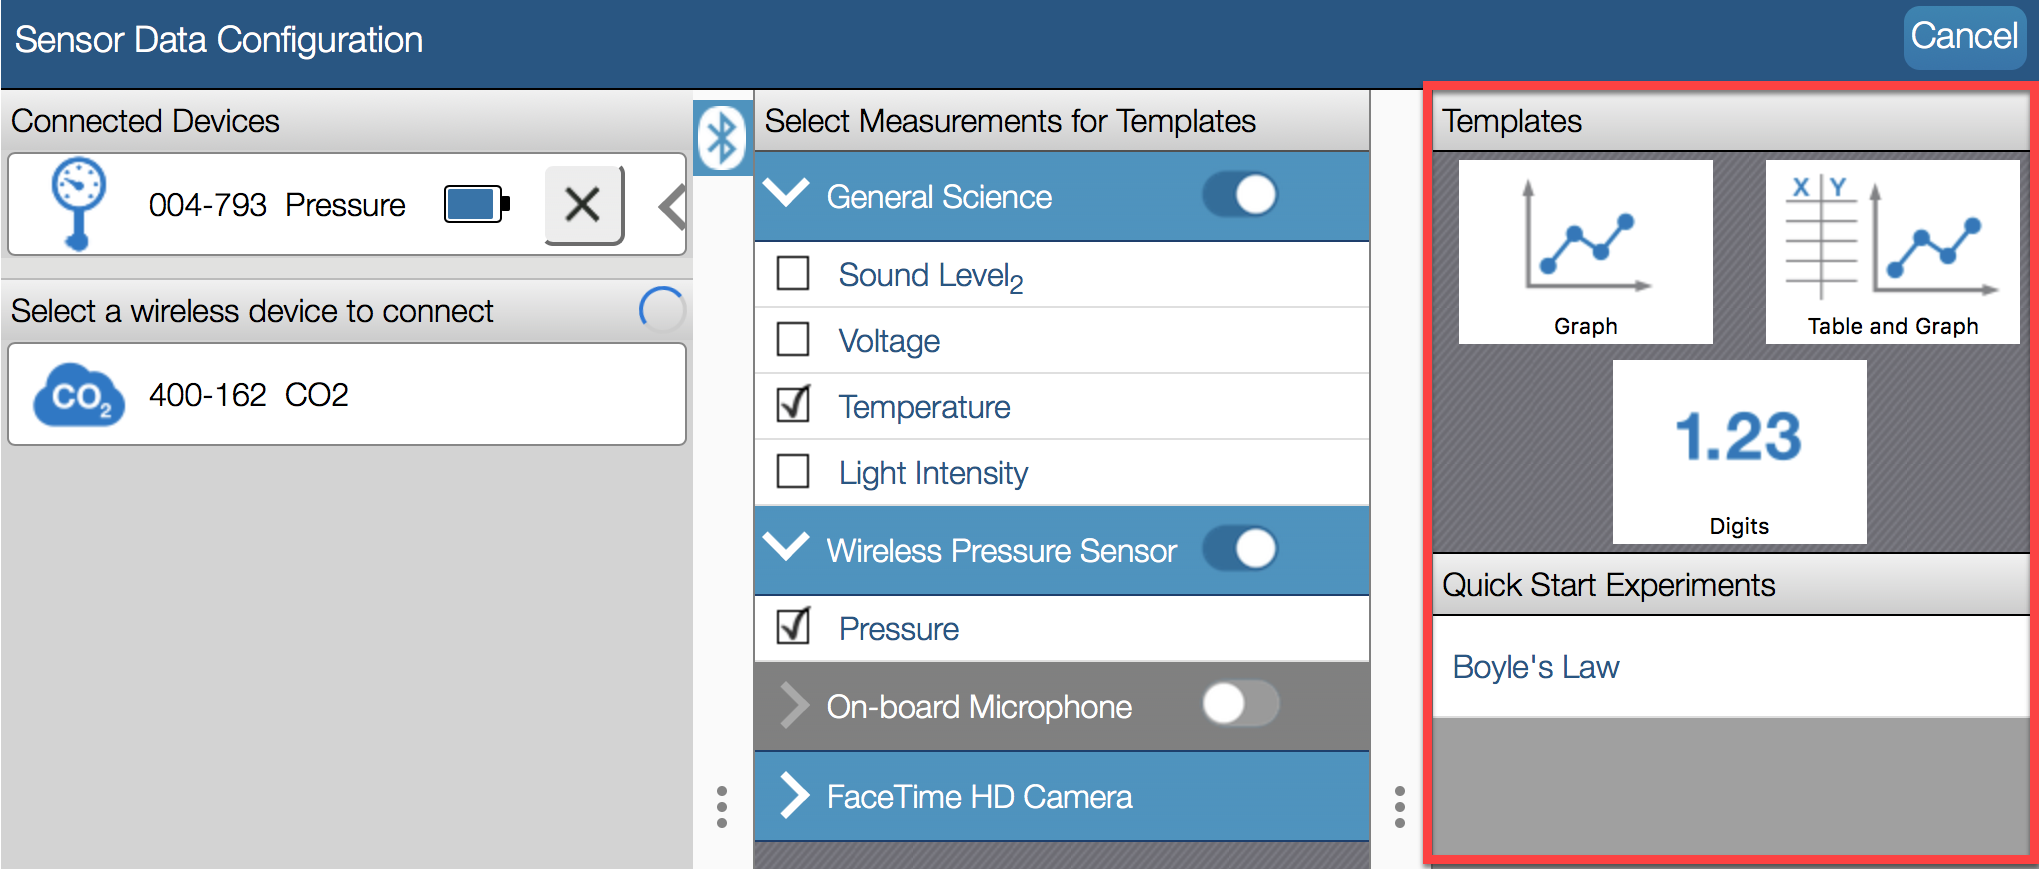
Under Connected Devices, select the sensor that matches the device ID printed on your sensor.
Connect the sensor to the USB port of a PC, Mac, Chromebook, or Android device using a USB cable.
-
-
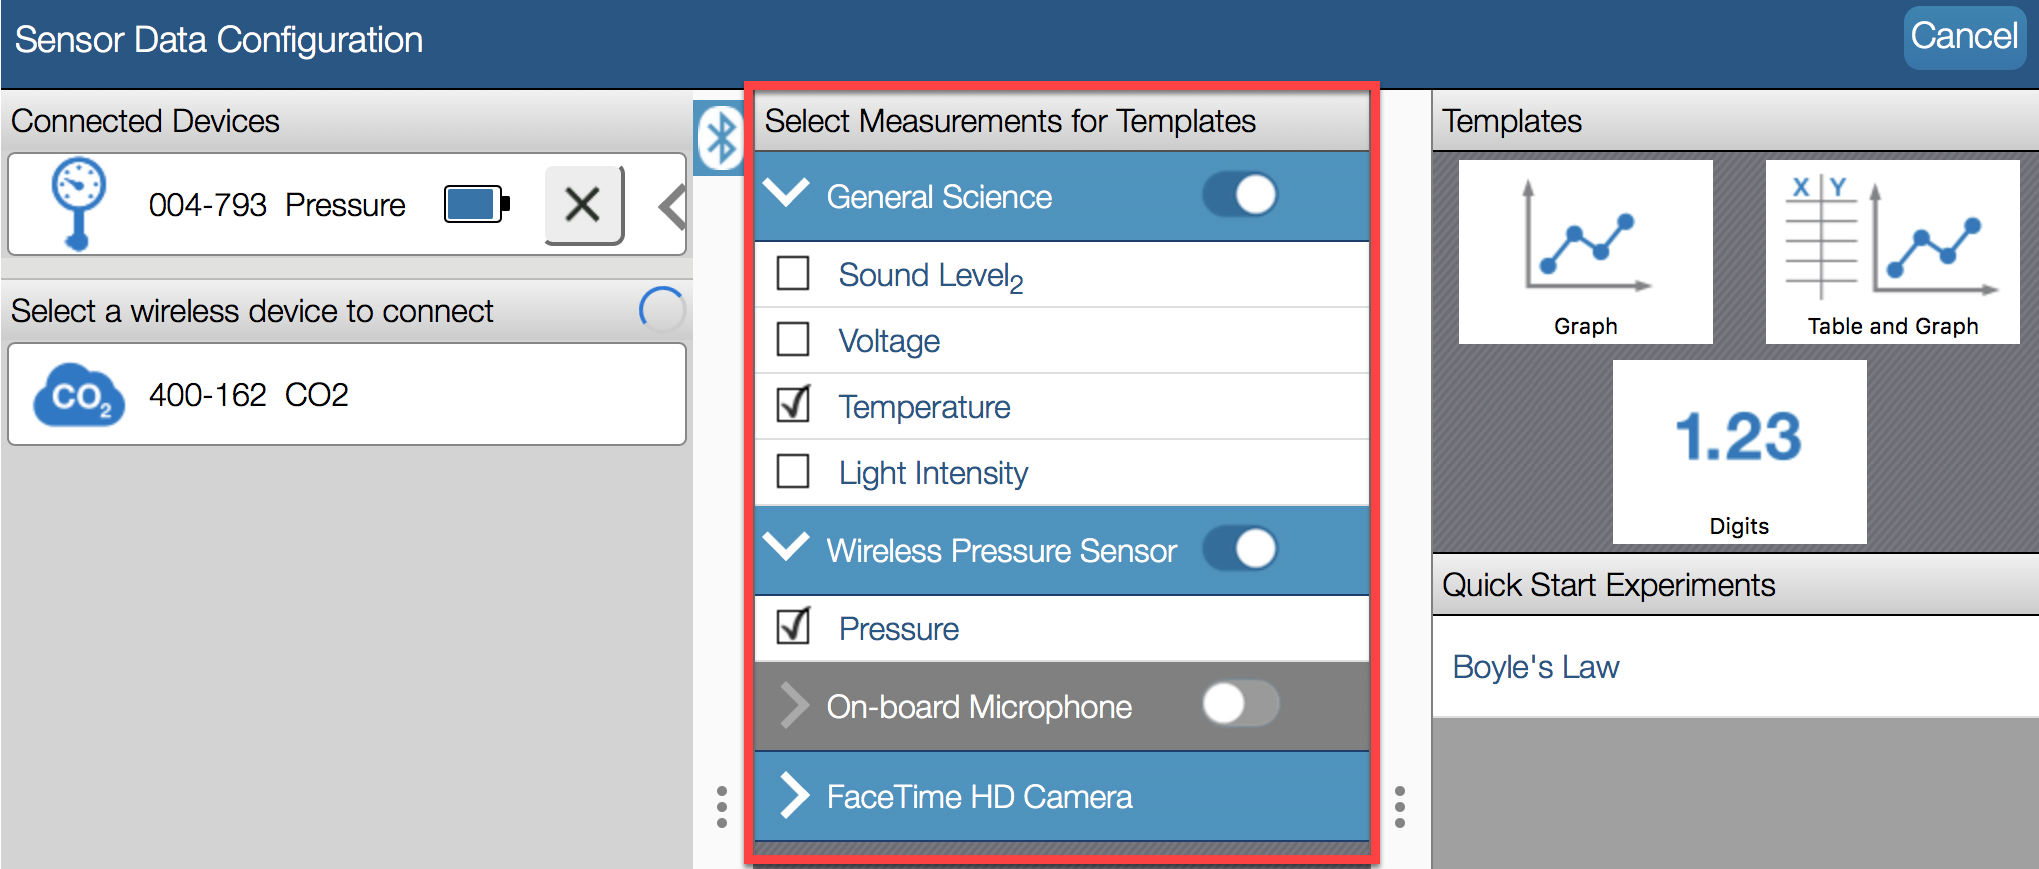
Select
 a measurement to display.
You can select up to three measurements.
a measurement to display.
You can select up to three measurements.Tip
- Toggle the switch to the disabled position
 to turn off sensors you don't need in your experiment.
 - Toggle the arrow to show
 or hide
  sensor measurements.
- Toggle the switch to the disabled position
-
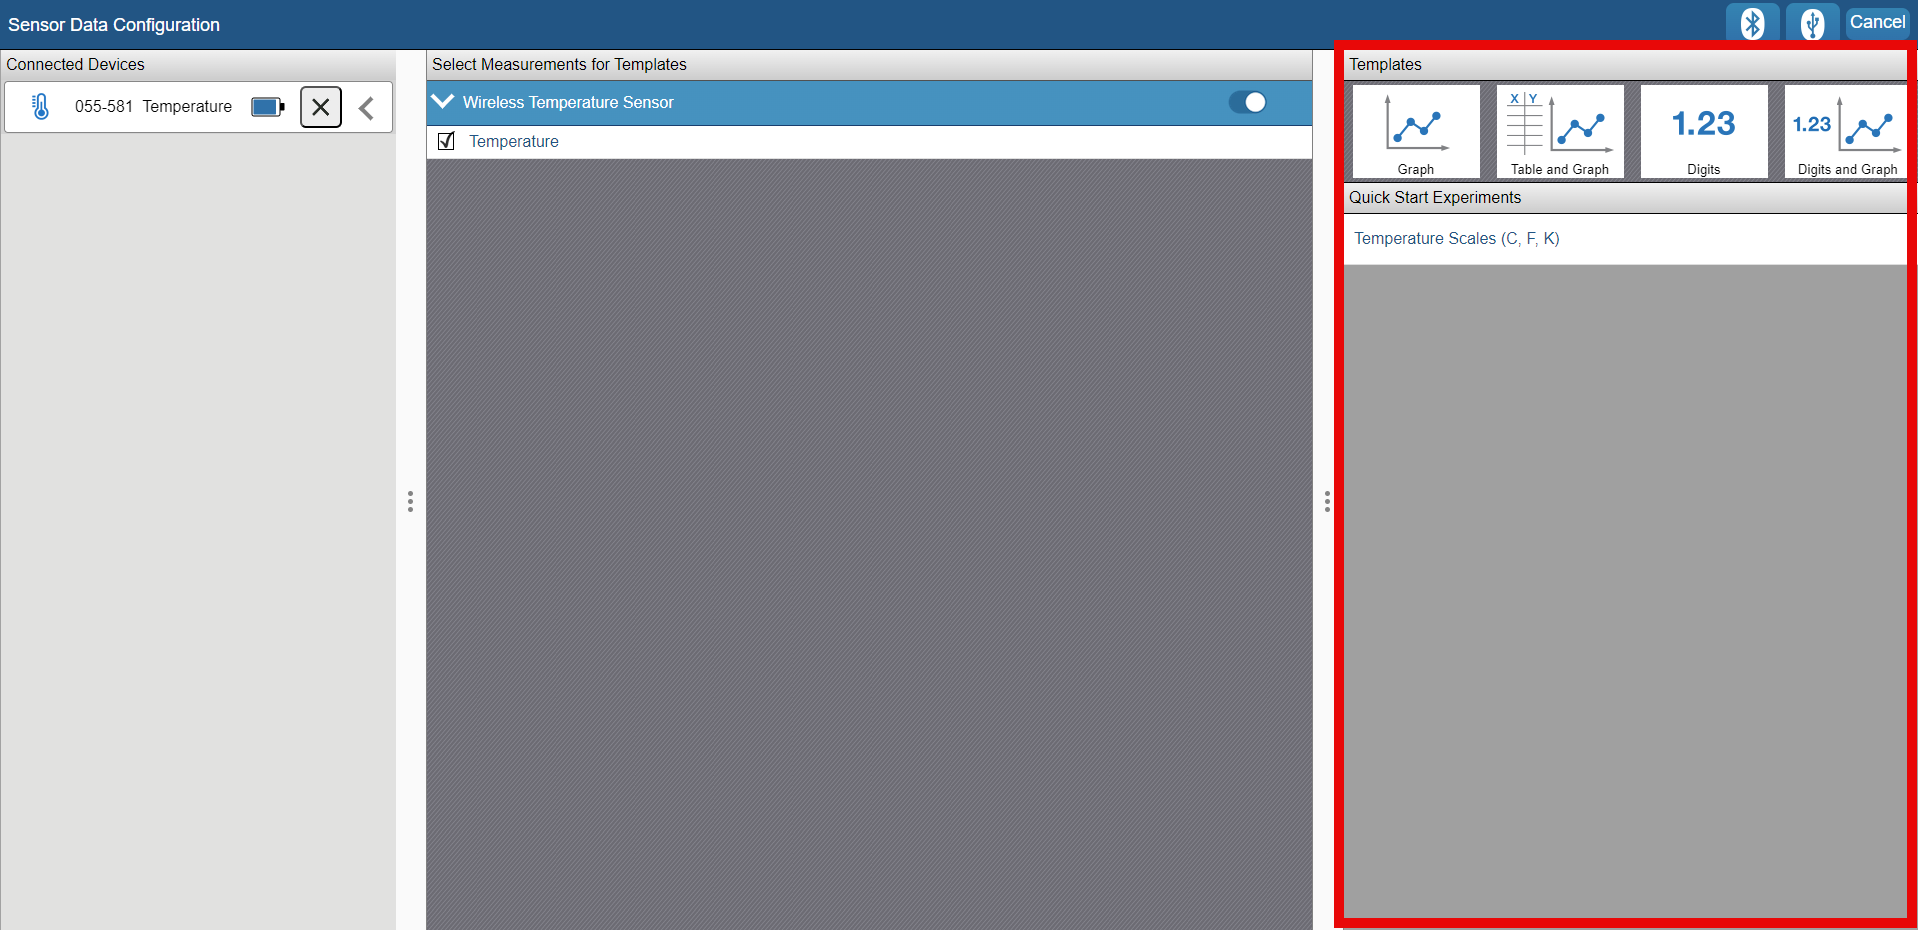
Select a template or a Quick Start Experiment to display the selected measurements.
-
On the Experiment Screen, click Start
 to begin collecting data.
PASPORT Sensors
Connecting PASPORT sensors to SPARKvue requires a PASPORT interface.
-
Open SPARKvue.
Tip
If you already have SPARKvue open on the Experiment Screen, click
and select Start New Experiment to return to the Welcome Screen. -
Click Sensor Data.
-
Connect a sensor using Bluetooth or USB.
- Turn on the interface.
-
Pair the interface with your computer or mobile device using your device's Bluetooth settings.
Note
Pairing is not needed if using an AirLink Interface.
-
Under Connected Devices, select the interface that matches the device ID printed on your interface.
- Plug the sensor into a PASPORT port on the interface.
- Turn on the interface.
- Connect the interface directly to a PC, Mac, Chromebook, or Android device using a USB cable.
- Plug the sensor into a PASPORT port on the interface.
-
Select
a measurement to display.
You can select up to three measurements.Tip
- Toggle the switch to the disabled position to turn off sensors you don't need in your experiment.
- Toggle the arrow to show or hide sensor measurements.
- Toggle the switch to the disabled position
-
Select a template or a Quick Start Experiment to display the selected measurements.
-
On the Experiment Screen, click Start
to begin collecting data.
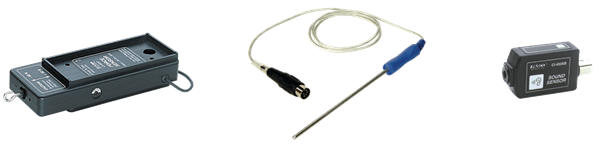
Science Workshop Sensors
Science Workshop Sensors can be either digital or analog. Digital sensors have a 1/4" stereo phone plug. Analog sensors have an 8-pin DIN plug.
Note
The 850 Universal Interface and legacy Science Workshop interfaces are not compatible with SPARKvue.
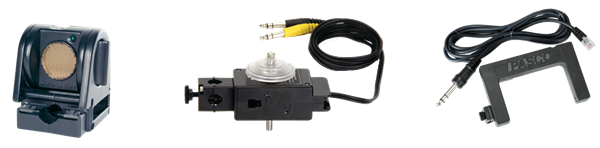
Analog sensors
Connecting analog Science Workshop sensors requires a 550 Universal Interface or a PASPORT interface with an Analog Adapter.
-
Open SPARKvue.
Tip
If you already have SPARKvue open on the Experiment Screen, click
and select Start New Experiment to return to the Welcome Screen. -
Click Sensor Data.
-
Connect a sensor using Bluetooth or USB.
-
Turn on the interface.
-
Pair the interface with your computer or mobile device using the device's Bluetooth settings.
Note
Pairing is not needed if using an AirLink Interface.
-
Select the interface that matches the device ID printed on your interface.
-
Connect the sensor to an analog port on the interface.
-
Click Properties
 for the channel that you connected the sensor to.
 -
In the Assign Analog Adapter window, select the sensor in the list, then click OK.
Tip
If desired, the gain of the sensor can be changed from the Assign Analog Adapter window by clicking the box next to Gain and selecting a value from the list. The default gain setting of Low (1x) works well for most applications.
-
Turn on the interface.
-
Connect the interface directly to a PC, Mac, Chromebook, or Android device using a USB cable.
-
Connect the sensor to an analog port on the interface.
-
Click Properties
for the channel that you connected the sensor to. -
In the Assign Analog Adapter window, select the sensor in the list, then click OK.
Tip
If desired, the gain of the sensor can be changed from the Assign Analog Adapter window by clicking the box next to Gain and selecting a value from the list. The default gain setting of Low (1x) works well for most applications.
-
-
Select
a measurement to display.
You can select up to three measurements.Tip
- Toggle the switch to the disabled position to turn off sensors you don't need in your experiment.
- Toggle the arrow to show or hide sensor measurements.
- Toggle the switch to the disabled position
-
Select a template or a Quick Start Experiment to display the selected measurements.
-
On the Experiment Screen, click Start
to begin collecting data.
Digital sensors
Connecting Science Workshop sensors to SPARKvue requires a 550 Universal Interface or a PASPORT interface with a Digital adapter.
-
Open SPARKvue.
Tip
If you already have SPARKvue open on the Experiment Screen, click
and select Start New Experiment to return to the Welcome Screen. -
Click Sensor Data.
-
Connect a sensor using Bluetooth or USB.
-
Turn on the interface.
-
Pair the interface with your computing device using your device's Bluetooth settings.
Note
Pairing is not needed if using an AirLink Interface.
-
Click
 to open the Wireless Devices window.
 -
Select the interface that matches the device ID printed on your interface.
-
Connect the sensor to a digital port on the interface.
-
Click Properties
for Digital Channels. -
In the Assign Digital Channels window, select one of the menu items to expand the list.
-
Select a device or timer from the list.
-
Click OK.
-
If prompted, enter the properties for the device or timer, then click OK.
-
Turn on the interface.
-
Connect the interface directly to a PC, Mac, Chromebook, or Android device using a USB cable.
-
Connect the sensor to a digital port on the interface.
-
Click Properties
for Digital Channels. -
In the Assign Digital Channels window, select one of the menu items to expand the list.
-
Select a device or timer from the list.
-
Click OK.
-
If prompted, enter the properties for the device or timer, then click OK.
-
-
Select
a measurement to display.
You can select up to three measurements.Tip
- Toggle the switch to the disabled position to turn off sensors you don't need in your experiment.
- Toggle the arrow to show or hide sensor measurements.
- Toggle the switch to the disabled position
-
Select a template or a Quick Start Experiment to display the selected measurements.
-
On the Experiment Screen, click Start
to begin collecting data.
Connecting sensors in the PWA version
The PWA version of SPARKvue has slightly different procedures for connecting sensors, due to the inherent complications of connecting a Bluetooth or USB device to a web browser. If you are using the PWA version of the program, follow the relevant instructions below for your sensor of choice.
Wireless Sensors
- Open the link to SPARKvue in your preferred (supported) browser.
-
Click Sensor Data.
-
Connect to the sensor using Bluetooth or USB.
- Turn on the sensor by pressing the power button until the lights turn on.
-
Click or tap the Bluetooth
 button on the upper toolbar to open a menu showing a list of available Bluetooth devices.
-
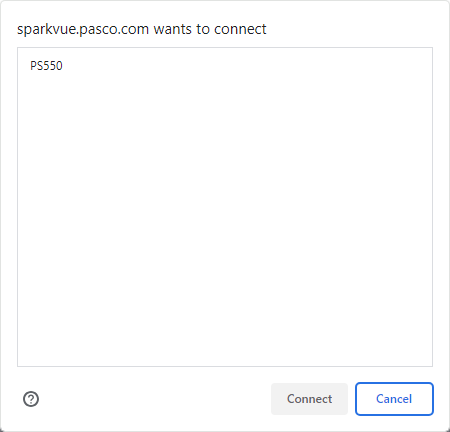
From the list, select the sensor with a device ID matching the ID printed on your sensor, then select Pair. After a moment, the program will connect to the selected device.
- Turn on the sensor by pressing the power button until the lights turn on.
- Using the USB cable provided with your sensor, connect the device to a USB port or powered USB hub on your computer.
-
Click or tap the USB
 button on the upper toolbar to open a menu showing available USB devices.
-
Select Pasco USB Bridge from the list, then select Connect. After a moment, the program will connect to the selected device.
-
Select
a measurement to display. 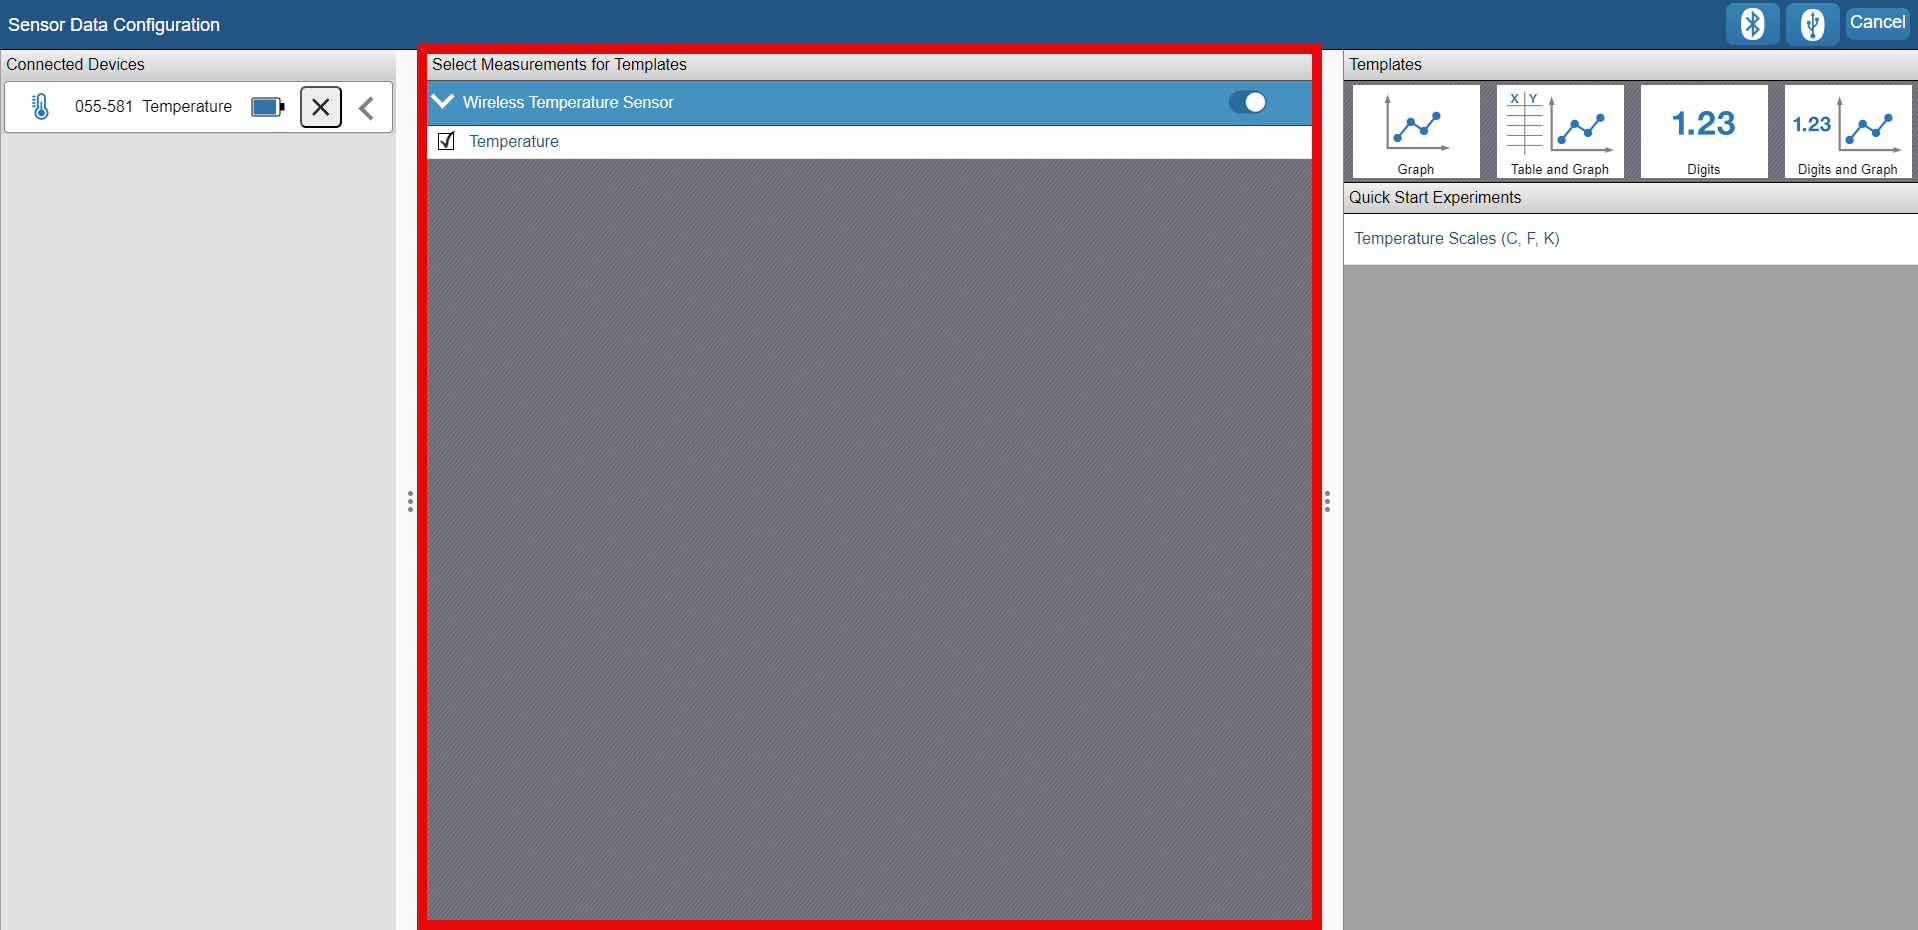
-
Select a template or a Quick Start Experiment to display the selected measurements.
-
On the Experiment Screen, click Start
to begin collecting data.
PASPORT and ScienceWorkshop Sensors
The connection of PASPORT and ScienceWorkshop analog or digital sensors to the PWA version of SPARKvue is mostly unchanged from the standalone app version. However, the PASPORT, analog, or digital interface will need to be connected to the browser in the same way as a Wireless Sensor. Follow the appropriate directions above to connect the interface via Bluetooth or USB, then plug the sensor into a corresponding port on the interface and proceed as normal.
Note
When connecting an interface to your browser via USB, the name of your interface may be listed instead of "Pasco USB Bridge". For example, a 550 Universal Interface will be listed as "PS550" in the menu. All other connection steps will be the same as described for Wireless Sensors.