Calibrate a Basic Electrometer
Improve the accuracy of the Basic Electrometer via calibration.
Before you start
Calibrating the Basic Electrometer will require the following supplies, in addition to those provided with the electrometer itself:
- PASCO analog interface, such as the 550 Universal Interface
- A voltage source with a known, constant voltage
- A resistor
Calibration
- Set up the Basic Electrometer as described in the product manual.
- Connect the signal output cable between the Signal Output port on the electrometer and an analog port on the interface.
- Connect the electrometer to SPARKvue.
- Select Voltage from the list of available sensor measurements, then select a template to open the Experiment Screen.
-
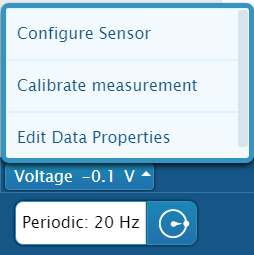
From the Live Data Bar, select the reading for Voltage, then click Calibrate measurement.
-
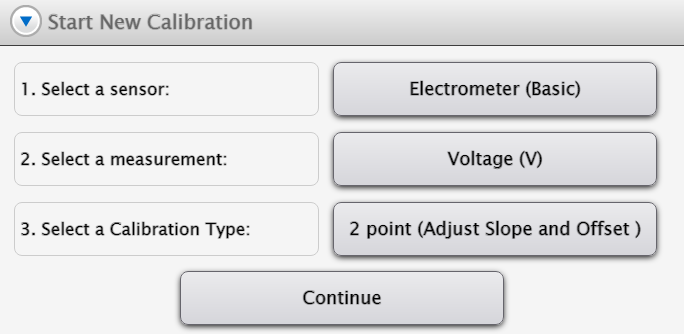
From the Calibrate Sensor menu, ensure that the following settings are selected, as shown in the image below.
- Sensor: [Name of the sensor to be calibrated]
- Measurement: Voltage (V)
- Calibration Type: 2 point (Adjust Slope and Offset)
-
Click Continue.
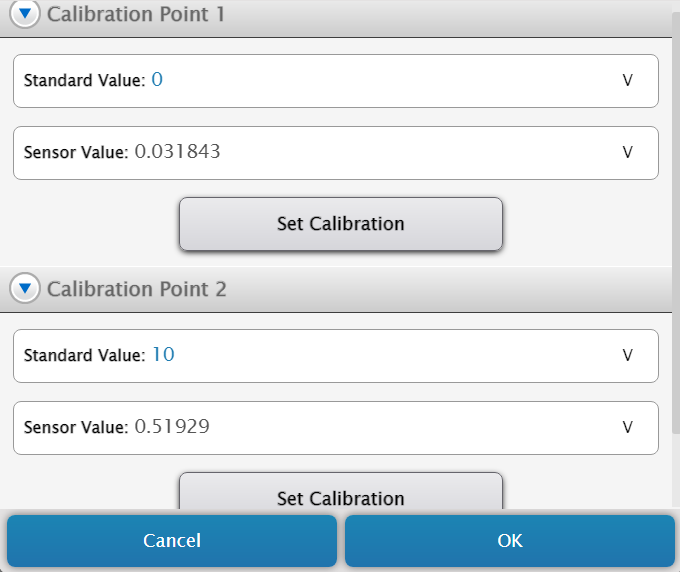
- With the Electrometer disconnected from any voltage sources, the reading should be at zero. If it is not, press the ZERO button on the electrometer.
- Enter 0 into the Standard Value box under Calibration Point 1, then click Set Calibration.
- Construct a circuit that includes the known voltage source and resistor.
- Connect the electrometer in parallel with the resistor. Check to make sure that the reading on the meter and digits display are equal to the known value of the voltage source.
-
Enter the value displayed on the electrometer into the Standard Value box under Calibration Point 2, then click Set Calibration.
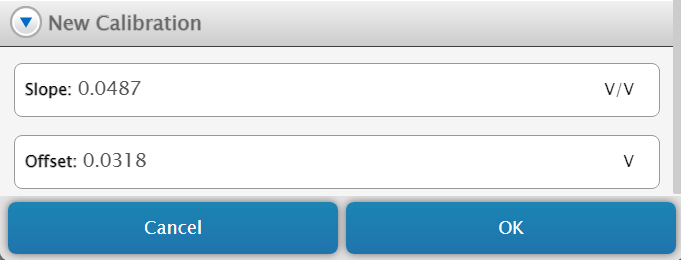
-
Review the new calibration under the New Calibration tab, then click OK.