Enable and set up UK Timing Modes
Set up a photogate to record measurements under the UK Timing Modes.
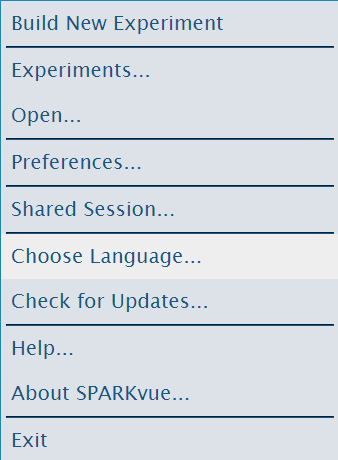
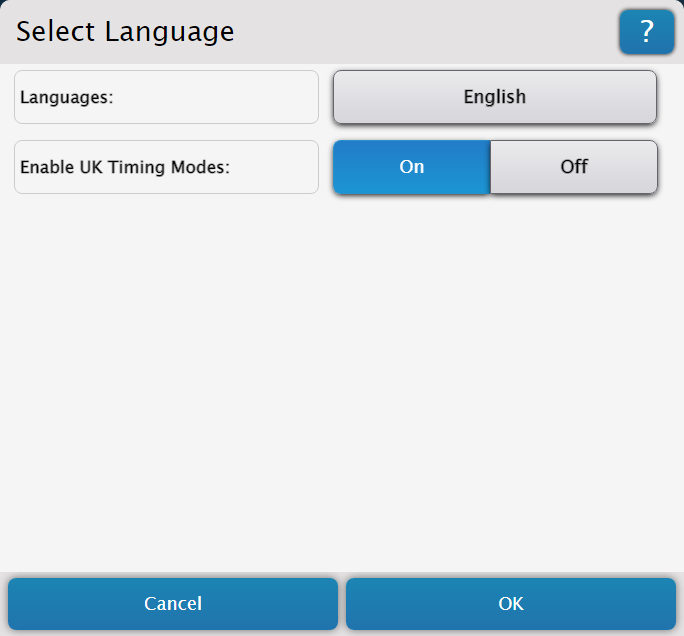
In addition to the standard timers described on other pages, SPARKvue supports the use of four UK Timing Modes for photogates, such as the Wireless Smart Gate. By default these options are not selectable and must be enabled. To enable these options, open the main menu, choose Select Language, and select On next to Enable UK Timing Modes.
Timing Modes
The following timer options are included among the UK Timing Modes:
-
One Light Gate and Single Interrupt Card
Allows you to measure the motion of a card with a single segment of known length through a single photogate.
-
Two Light Gates and Single Interrupt Card
Allows you to measure the motion of a card with a single segment of known length through two photogates, including at least one Photogate Head.
-
One Light Gate and Double Interrupt Card
Allows you to measure the motion of a card with two segments of known (equal) length through a single photogate.
-
Two Light Gates and Double Interrupt Card
Allows you to measure the motion of a card with two segments of known (equal) length through two photogates, including at least one Photogate Head.
Single photogate setup
Follow these instructions for setting up a single photogate to use the One Light Gate and Single Interrupt Card or One Light Gate and Double Interrupt Card Timing Modes.
- Connect the photogate to SPARKvue.
- Under Select measurements for templates, click the Properties
 icon next to the photogate's name, or next to the Digital Channels entry for your interface if you are using a Photogate Head.
 - Under UK Timing Modes, select either One Light Gate and Single Interrupt Card or One Light Gate and Double Interrupt Card, then click OK.
-
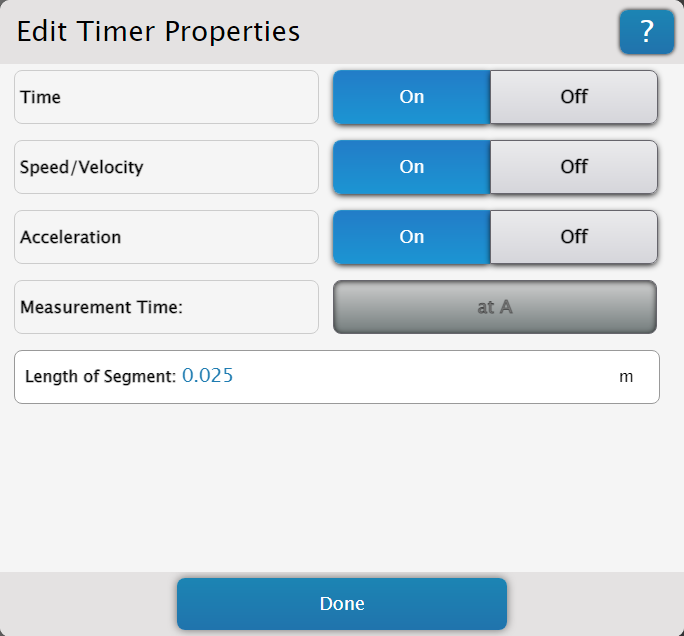
From the Edit Timer Properties menu, ensure that the On option is selected for each of the measurements you wish to use in your experiment.
Note
The Acceleration measurement is disabled for the One Light Gate Single Interrupt Card mode, as it cannot be accurately calculated.
-
Enter the length of the card (for the Single Interrupt Card) or the length of an individual segment (for the Double Interrupt Card), in meters, into the text box, then click Done.
- Check the boxes
 next to your desired measurements in the Select measurements for templates column.
 - Select a template to open the Experiment Screen. Begin recording when ready.
Double photogate setup
Using the Two Light Gates and Single Interrupt Card or Two Light Gates and Double Interrupt Card Timing Modes will require two photogates. You may use any of the following combinations:
- A Wireless Smart Gate (PS-3225) and a Photogate Head (ME-9498A)
- A Smart Gate (PS-2180) connected to a PASPORT interface and a Photogate Head
- 2 Photogate Heads connected to a digital interface
To set up the photogates:
- Connect the Smart Gate, Wireless Smart Gate, or one of the Photogate Heads to SPARKvue.
-
Connect the second photogate through the appropriate means:
- If your first photogate is a Smart Gate or Wireless Smart Gate, plug the digital jack of the Photogate Head into the Auxiliary Port of the Smart Gate or Wireless Smart Gate.
- If your first photogate is a Photogate Head, connect the second Photogate Head to another digital input on the same interface as the first one.
-
Under Select measurements for templates, click the Properties
icon next to the Smart Gate or Wireless Smart Gate's name, or next to the Digital Channels entry for your interface if you are using two Photogate Heads. - Under UK Timing Modes, select either Two Light Gates and Single Interrupt Card or Two Light Gates and Double Interrupt Card, then click OK.
-
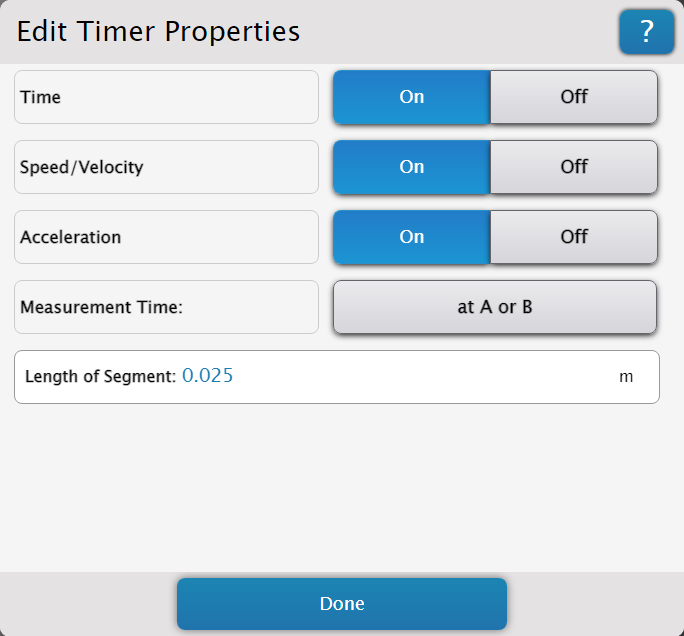
From the Edit Timer Properties menu, ensure that the On option is selected for each of the measurements you wish to use in your experiment.
-
If you are using the Double Interrupt Card mode, click the box next to Measurement Time and select an appropriate option for your experiment.
- Enter the length of the card (for the Single Interrupt Card) or the length of an individual segment (for the Double Interrupt Card), in meters, into the text box, then click Done.
- Check the boxes next to your desired measurements in the Select measurements for templates column.
- Select a template to open the Experiment Screen. Begin recording when ready.