Build a custom experiment page
Create a custom experiment layout to display data and control hardware.
In this tutorial, we're going to build an experiment page from scratch. We will select a page layout, choose displays we want to use to visualize data, and select measurements we want to display.
Create a new page
Let's start by creating a new experiment page. This can be done from the Welcome Screen or Experiment Screen:
- If you're on the Welcome Screen, click Build New Experiment.
- If you're on the Experiment Screen, click New Page
 .
.
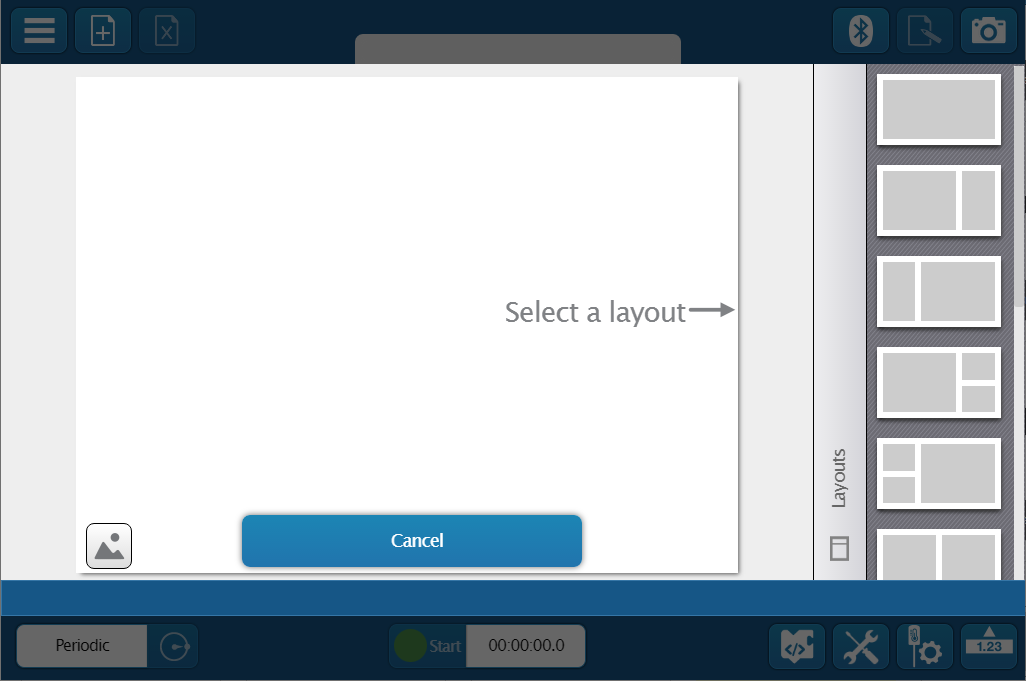
Select a layout
-
Optional: If desired, click Add Background
 to add a custom background image to your page.
 -
Select a layout from the options on the right side of the screen; scroll for additional layout choices. Each layout contains one or more display elements.
Note
Some displays require a minimum size. See Display types for more information.
Connect sensors
Before you can select your displays, you need to connect each sensor you want to use in your experiment. Follow the steps below to connect a Wireless Sensor. If you have a PASPORT or Science Workshop sensor, see the Connect a sensor to SPARKvue page.
- Turn on the sensor.
- Click Bluetooth
 to open the Wireless Devices window.
 - Select the sensor that matches the device ID printed on your sensor.
- Click Done.
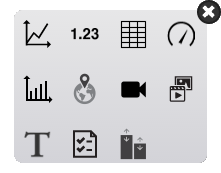
Select displays and measurements
-
Select a display for each area on the experiment page. If you want to leave a display element blank, click the ×.
-
For each display, click Select Measurement, then select the measurement you want to display from the menu.
Tip
If you made a mistake when creating your experiment page (such as selecting the wrong layout), click New Page
to start a new page. You can delete the old page by clicking Delete Page  .
.
Collect data
After you have set up your displays, you are ready to collect data. Click Start  to begin collecting data.
Next steps
- See the Experiment Screen page for information on how to use the tools on the screen.
- See Display types for more information about each display.